Installation of troughed sheet – a practical guide
Over 25 years of activity
200 employees
3,000 points of sale across Europe
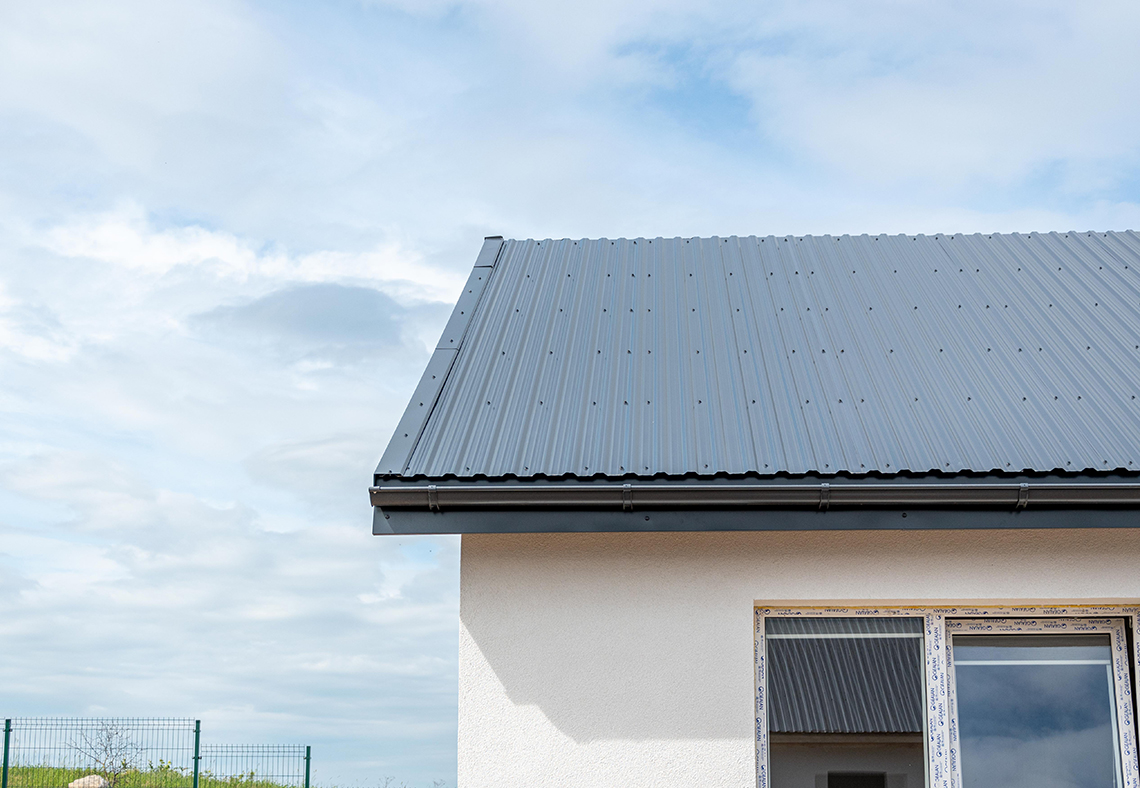
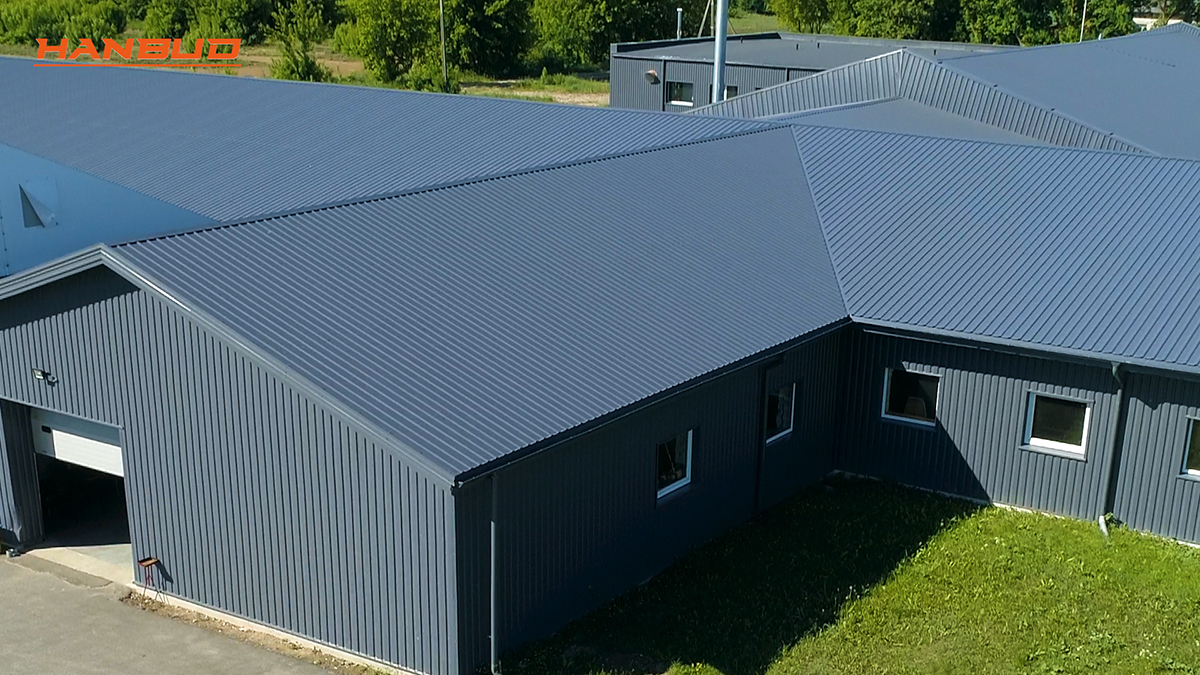
Troughed sheet is a material commonly used to cover the roofs of single-family houses, garages, and industrial halls. Due to the easy installation, many people decide to make their roofing themselves. Our guide will show you how to do the work correctly and safely and how to avoid the most common mistakes.
To make it comprehensive, we have divided the text into two parts. The first one covers preparatory work, while the second one explains the process of installing the troughed sheet.

Preparatory work
Before you install the troughed sheet, carry out preparatory work, which includes unloading and transporting the products. It is extremely important to carry out these activities properly, as following the instructions will help you to avoid the risk of damaging the product.
Delivery of the troughed sheets
When the products are delivered, make sure that they are in accordance with the specification. Any deficiencies, mistakes, or damage during transport should be noted on the waybill and immediately reported to Hanbud sp. z o.o. or the warehouse where the purchase was made.
Unloading troughed sheets
For unloading, we recommend using a forklift, hand pallet truck, or another device equipped with pallet forks with a minimum spacing of 1500 mm. It is also permitted to unload with a loader crane, using a traverse and special belt slings.
Manual transport of troughed sheets
If mechanical unloading is not possible, manual unloading is allowed. In this case, pay particular attention to the safety rules. The sheets must not be slid on one another, so as not to damage the paint coating. A sufficient number of persons should be involved in loading, as follows: one person for each linear metre of the sheet. This means that a sheet with a length of 4 linear meters should be unloaded by 4 people – 2 on each side.

Installation of troughed sheets
Roof geometry
The roof structure should be made in accordance with the art of carpentry and based on the construction design. Before starting the roofing, measure its pitch and geometry. For troughed sheets, the minimum roof slope is 7 degrees. Stretch a string between the first and last rafter to check if the roof is flat. The same operation must be repeated on the side of the eaves, ridge, and half of the roof. Then, measure the diagonals of the roof, which should be equal for rectangular or square-shaped roofs. You will be able to compensate for small deviations of 2-3 cm in the subsequent stages of roofing. Larger deviations should be corrected by straightening the rafters.

Installation of the eaves board
Start the installation by screwing the eaves board to which you’ll attach the flashing and gutter hangers to the rafter. Then, using mounting screws or nails, fix the gutter flashing.

Installation of the roof membrane
The next step in preparing the roof to be covered is nailing the roofing membrane or felt. Installation should be carried out in accordance with the recommendations of the manufacturer of the product.
Then screw wooden strips (counter-battens) with dimensions of at least 25 mm x 50 mm along the rafters. They ensure free ventilation of the roof.

Installation of battens
Wooden battens are the element to which the sheets will be attached. The recommended and the most common size is 40 mm x 50 mm. Start fixing the batten from the eaves batten, moving towards the ridge. The axial distance between the battens recommended by Hanbud should be in the range of 250 – 350 mm. Any increase of the axial distance must be supported by the construction design and confirmed by the constructor.
The roof surface should be checked again in terms of geometry and any unevenness should be corrected.

The direction of installation of troughed sheets is not restricted and can be chosen by the user. They can be laid from the left or from the right side of the roof. However, we recommend installation in the direction opposite to the most common wind direction. Depending on the chosen installation direction, cover it or slide it under the cover sheet.

Fasten the first sheet to the roof with one screw next to the eaves and place it at right angle to the eaves. Then continue to cover the roof.

Longitudinal joining of sheets
When it is necessary to join sheets longitudinally on the roof, remember that the sheet overlap should be in the range of 150 – 300 mm. During installation, follow the order shown in the figure below.

Which screws should be used for the installation of troughed sheets?
Use galvanized and coated 4.8 x 35 mm farmer screws. In the eaves, ridge parts, and overlaps, the sheet should be screwed in each lower section of the trough, while in the cornice part – to each batten. In the edge zone, the location of the screws should be 8 pcs/m2, while in the central part of the roof – 5 pcs/m2.

Flashing
All necessary flashing for roof finishing is available in the product catalogue. When installing, remember to provide adequate ventilation of the roof to prevent excessive accumulation of moisture.
Cutting troughed sheet
The sheet should be cut with specialist roofing tools such as a nibbler or hand shears. The use of an electric grinder or other devices generating high temperature for cutting metal sheets is forbidden. Do not trim the sheet metal on the roof. The filings from the cutting or installation of the sheets must be removed immediately. Otherwise, they may cause external corrosion spots. This will shorten the life of the sheet metal and will result in loss of warranty.

Check out our tutorials
Visit our blog to find plenty of useful articles on how to choose, install, and care for roofing materials. All articles were written by specialists in the field.
See our product catalogues
Here you will find the roofing, metal panels, billboards, and profiles for plasterboards available in the Hanbud product range. All files are available in PDF version. Download the files and take a look.
Installation manuals for roofing and fences
Our installation manuals help users to install roofing and fences on their own. All documents have been written in plain language and illustrated with clear diagrams.
